Category: Outdoors

  • The world’s greatest venison roast recipe — ever!

    The world’s greatest venison roast recipe — ever!

    venison

    The first thing I need to mention is, I don’t hunt.

    Not at all. And that’s not because I’m against hunting, I’m not. I don’t view  hunting as being wrong, cruel, barbaric, in fact as long as the meat is being used I think it’s a self-sufficient and admirable thing to do.

    In fact, I grew up in a little town in the Catskill Mountains called Walton, NY. and although it might be different now, in those days if Dad didn’t get a deer, it was going to be a long winter. There were many families back then that depended on wild game to supplement their food stocks and The State Police had a long list of families that would take deer killed in car accidents so the meat didn’t go to waste.

    I have no problem with hunting. Never did. I just don’t hunt.

    But all of us — myself included — know plenty of people that do hunt. Plenty of them. And hunters are very generous people that enjoy sharing some meat with friends and family that will use it.

    Which means, that if you’re like me and don’t deer hunt, that doesn’t mean that we don’t need to be familiar with how to cook venison. Especially a venison roast. And the reason to focus on the roast is that besides being a great piece of meat, it’s not as sexy and sought after as say, the tenderloin; which everyone prizes and covets. So, many folks will have extra venison roasts in their freezer and are more than happy to share with all us non-hunters out there that enjoy it and know how to prepare it.

    In fact, if you have family or friends that have never had venison and are a little apprehensive to try it — this is the recipe for you. Which is actually how I came to get it.

    My mother-in-law grew up being one of those people unfamiliar with venison but her mother-in-law would cook it occasionally for Sunday dinner. This young, recently married woman did not want to insult her husband’s mother, so she tried it. And she was hooked. The meat was tender, moist and tasted, well — nothing like what she expected deer to taste like.

    And that is this recipe here. The actual venison roast recipe from my wife’s grandmother, Elsie Wilkins, circa 1950 and the greatest venison roast recipe you will ever find and the only one you will ever need.

    It’s so simple, fun to make and has an amazing flavor.

    THE WORLD’S GREATEST VENISON ROAST RECIPE — EVER.

    Ingredients:

    A 4-6 pound venison roast

    Flour

    1 tablespoon cooking oil

    1 large onion

    One half garlic clove

    4 teaspoons oregano

    1 pinch celery seed

    4 tablespoons wine vinegar — not cider vinegar

    Salt and pepper to taste

    Accent ™ to taste.

    Directions:

    Peel half of a small clove of garlic

    Cut small slits in the roast and place long pieces of garlic into the roast — this will add moisture while the roast is cooking.

    Place the oil in the bottom of a French Oven (French oven is an enamel covered version of a Dutch oven and retains heat a little better than its Dutch cousin), and bring up to a medium heat on the stovetop.

    Brown roast in oil for 10 to 15 minutes, or until a nice brown sear are on all the edges.

    Slice one large onion and set aside.

    Remove roast. Place onion and vinegar in French oven.

    Place spices liberally over the roast (Accent ™, celery seed, salt and pepper, oregano).

    Place roast on top of the onions and cook at 325 F for 3 to 4 hours.

    Check half way through to see if additional moisture is needed.

     Eat and enjoy.

  • How to use a chainsaw

    How to use a chainsaw

    saw

    Well, yeah, it can rip your arm off, sure. And yes, it’s true that with the chain rotating at 60 miles per hour it’s the equivalent of holding a small car engine in your hands. Yes. This is also true. And there is the risk of flying pieces of wood and of the saw bucking and on you and — well, I haven’t even got to the series of films set in Texas.

    Yes, there are many, many cautious warnings to be said about chainsaws. Chainsaws are powerful, formidable pieces of equipment which is part of the reason that logging tops the list of the most dangerous careers.

    TOP 5 MOST DANGEROUS PROFESSIONS:

    1. Logger

    2. Professional Fisherman or Shrimper

    3. Pilot

    4. Garbage Men

    5. Truck drivers and route salespeople

    But there is something very interesting about that list. First, logging as a dangerous industry is only partly due to the chainsaws and other equipment and also due to the twenty-ton tree that has to fall just right — as well as the need to climb high trees and cut limbs. But what’s even more interesting is that if you look at the people who are logging and cutting down trees for a living, the majority of them are doing it by choice. In fact, many of these loggers are highly educated people that take a season off and work in the woods for something different. Whereas the majority of folks that work in the fishing industry will tell you that if they could find something as lucrative close by that was less dangerous, they would probably take it.

    [amazon asin=B001DO1OMK&template=iframe image][amazon asin=B000GQ7IJE&template=iframe image][amazon asin=B00CLL6Z3C&template=iframe image][amazon asin=B000VSDHAQ&template=iframe image]

    In fact, we have a friend of ours, Adam, who completed law school and passed the bar exam four years ago. He paid for law school by cutting down trees and is still doing it full time today. When my wife asks him when he is going to start practicing law, he’ll just smile and say, “I’ll get to it.”

    As adventurous as boats and the open waters are, there is something to be said about the lure of man and the woods.

    So, if you’ve never used a chainsaw before, here is one good reason to consider it.

    Money.

    Although I’m not advocating taking on a large tree removal project on your own instead of paying a professional — absolutely not — but from a purely financial viewpoint it’s hard to argue that the cost of even a small tree project could pay for three chainsaws.

    Also, if you burn wood, there is no shortage of free wood around. Take a look on craigslist and there are many posts on wood that is free to whoever will pick it up and hall it away — and then cut it up and split it. And neighbors and friends are always having trees removed and are eager for someone to use the wood.

    And if you’re looking for a little side business, there is money to be made for those who are willing to take wood, split it, season it and deliver it.

    With a few exceptions, the majority of the firewood we use is free. In fact, I can easily justify using our fireplace instead of investing in a woodstove or insert because even though the fireplace is only 30% efficient — with the majority of heat going up the stack — the fuel is free so it doesn’t matter.

    Now, there are a few rules in choosing a chainsaw and the first is that an electric model doesn’t count — getting an electric chainsaw is like getting an electric lawn mower and that’s just silly. Anything you can cut with an electric chain saw you can do yourself with a six-dollar bowsaw just as quickly. And then there is the cord, and if you have to use multiple cords because of distance the current draw will be significantly weaker, so —. No. Get a gas powered chainsaw.

    But with that said, get a model you are comfortable handling and using. Don’t get the Paul Bunyam 9000 just because it looks cooler. If it’s too heavy to hold it’s going to be too heavy to control. In fact, before you choose a chainsaw, borrow or rent one instead. Get an idea of the size and blade configuration you are comfortable using.

    And FYI, for a beginner, a bar type blade is more practical than a bow blade.

    HOW TO USE A CHAINSAW.

    1. Survey the area where you are going to work. Is it large enough? Are there obstructions, nearby cars and buildings, or things you can trip over? Is there a path to move way if there are falling limbs or debris?

    2. Understand the vernacular.

    Felling — the act of cutting down a tree.

    Limbing — removing limbs from the tree before it’s felled.

    Trimming — cutting back or taking off branches on a limb.

    Bucking —- cutting the trunk of the tree into usable pieces.

    3. Fill the gas tank with the correct fuel — typically this is one gallon of gasoline to 5 ounces of two cycle oil — the equivalent of what you put in your string trimmer.

    4. Understand the kickback zone. The tip upper corner of the chainsaw is known as the kickback zone. If the kickback zone comes in contact with something while the chain is moving, the saw will kick up and back toward you — that’s why modern chain saws are equipped with a chain brake designed to stop the chain if a kickback happens. You want to always cut from the bottom of the bar and avoid the top because with the spinning chain the majority of injuries occur when using this part of the blade. In fact, cutting with the bottom of the bar is the most smooth and natural way to cut and the easiest way to maintain a grip.

    5. Get your protective gear on. A helmet with a face screen is not a bad idea but the required gear would be steel-toed boots, thick leather gloves, ear protection, safety glasses, and long pants —  logging chaps if you have them.

    6. Start the saw. With the saw sitting on the ground, put the toe of your right boot into the back handle loop and grasp the front handle with a stiff left arm. Pull the starter handle to fire up the engine. Push in the choke and take it off fast idle, then pull the chain brake back toward the front handle to release the chain brake for cutting.

    7. Take the saw for a spin. Get the feel of it. Cut only when you are in a comfortable, well-balanced position with your feet about shoulder-width apart. Stand to one side of the saw, never directly behind it.

     RULES OF THE ROAD: 

    •Keep the chain sharp. A dull chain is unsafe, hard on both the bar and chain, and it overworks you and your saw.

    •Understand the bar’s kickback zone and avoid getting into kickback situations.

    •Never cut above shoulder height.

    •Work on the uphill side of trees so they’ll roll away from you instead of over you.

    •Whenever you aren’t cutting, the brake should be in the locked position.

    •Start all cuts with a full throttle before touching the wood.

    •Avoid touching the ground with the chain because even a brief encounter will severely dull the cutting teeth.

  • How to cook on a charcoal grill

    How to cook on a charcoal grill

    grill

    Ten thousand years ago —- I think it was on a Tuesday — our collective ancestors had a great hunt. A huge hunt.

    For days, the tribe carried their spears and bows and moved along with a herd of antelope. They would follow the herd and then thin off a few of them — forcing them to run from the group and create a smaller herd. Then they would follow that smaller herd and thin that off making yet another smaller group. And then a few more off from that one.

    Eventually, the tribe had a single antelope — a large one — trapped in a cavern. They faced the animal. They surrounded it. And they brought the great beast down.

    The tribe was very happy.

    They carried the prize back to their camp. They sang songs and butchered the game and began to cook the meat on the fire and as they rejoiced and enjoyed the thrill of the hunt — as they talked and joked and listened to the meat sizzle on the open flame — one of the hunters began to think. He pondered and worried until he eventually spoke.

    “You know,” he turned to his friends. “If we ever start living inside,” he paused. “If we ever start wearing clothes and cooking in metal boxes and sleeping in beds. If they ever invent jobs and bills and stress.”

    His friends watched as he pointed to the meat sizzling over the flame.

    [amazon asin=B00004RALU&template=iframe image][amazon asin=B002Y0KA1S&template=iframe image][amazon asin=B00008DHPA&template=iframe image][amazon asin=B002UKPTRM&template=iframe image]

    “If that ever happens,” he stated. “Then I’m going to miss this.”

    There was a silence for a moment as they all thought. Then they consoled their friend. They explained that he was simply tired. Exhausted from the hunt and that there was nothing to worry about. This would never happen.

    And they cooked and talked and ate.

    HOW TO COOK ON A CHARCOAL GRILL

    Cooking on a charcoal grill is amazing. Its part cooking, part camping. It not only creates a cooking surface of high and steady heat but it seals in juices and adds that great smoky flavor.

    And it’s a great way to tap into that hard wired need we males have for the tribal outside campfire.

    Gas grills are great for convenience — and I use ours at least twice a week, year round — but nothing compares to cooking on a charcoal grill — unless it’s cooking over a campfire.

    Charcoal grills come in all shapes in sizes. There are inexpensive, portable grills that are great for tailgating and picnics. Then there are the mid sized grills that you roll out when needed — we have a twenty dollar charcoal grill I bought for my mom six years ago that we use every time we go to her house that works great. And then there are the great permanent charcoal grills such as Weber and Char-Griller.

    But no matter what grill you use, here are the basics.

    Choose good charcoal. For the small amount of money you’ll save, it’s not worth buying a no brand charcoal. I have tried all of them — in grills and in smokers — and I buy name brand every time and just watch for sales — Kingsford charcoal is the brand I like. But experiment and find the one that works for you.

    Place your charcoal on one side of the grill. This is important because it will give you a hot side and a cold side of your grill. By placing charcoal on one side you’ll be able to control the heat. You can move what you’re grilling around the grill and monitor it.

    Light the charcoal. Many charcoal-purists object to using lighter fluid; preferring a wax charcoal brick or some other device. But the truth is, as long as you allow the charcoal to get to get to heat, any lighter fluid has been burnt off. And I have found that many self lighting charcoals retain that lighter fluid taste.

    When the charcoal is white hot, start cooking. But watch the time. Depending on the amount of charcoal you’re cooking, you usually have about forty minutes of prime cooking time before it begins to cool.

    A chimney. A charcoal chimney is a great device to get backup charcoal going. If you have to cook for a large group, or need to keep the coals hot for an extended time, get a chimney going on the side. After about thirty minutes or so, you’ll have red hot coals to add to the grill.

    Here’s a tip. When you think the coals are hot enough, wait another fifteen minutes. It’s not unusual to struggle with the grill until everything is cooked only to come back and notice that now, the grill is where you want it.

    Enjoy.


  • How to build a bugout bag

    How to build a bugout bag

    doom

    A few years ago, The National Geographic Channel introduced a new reality series entitled, Doomsday Preppers; a show that focused on individuals who are actively preparing to survive a possible global disaster. With each episode, we are allowed an inside look at the lives of a few preppers who have a specific disaster scenario that he or she believes will occur — worldwide economic collapse, pandemic, megaquake, nuclear war, etc. We spend a few days with these folks, see how they prepare and view the eminent end of the world and then experts determine if their plan is solid enough to survive in that specific scenario.

    When the show’s first season was aired it was met with mixed reviews.

    While some critics saw the series as an accurate portrayal of a worldwide movement, there were others who claimed it was simply another exploitive reality series — a vehicle to ridicule these individuals rather than educate on their beliefs and lifestyles. Also, many viewers objected to what they called the show’s anti-life format — as most preppers have large cashes of firearms and ammunition set aside to protect their food and rations from those who were not as prepared as they were. In fact, most preppers are very open on their intent to kill anyone and anything that plans on stealing from them if said disaster occurs — because in a world where society has broken down and there are no longer laws to protect, it becomes kill or be killed.

    But regardless of your opinion, millions of us tuned in — and 60% of the Doomsday Preppers audience were men.

    Now it’s important to note that this is not a piece on doomsday prepping and I am not a prepper. I am not concerned about the collapse of our banking system, a worldwide virus, or the takeover from the walking dead. I’m not mocking those individuals who are actively preparing for these events — well, maybe a little — but I am simply stating that I’m not worried about it. But just because I don’t believe in the collapse of modern civilization doesn’t mean I don’t believe in disaster.

    In my life, I have had one house burn and another one flood. I have had cars break down on back country roads. I have been lost in the woods. I have been knocked unconscious and I’ve been trapped in the snow.

    These things I do believe in. These things I try to prepare for.

    [amazon asin=B008HHX15Y&template=iframe image][amazon asin=B00K5AH8T6&template=iframe image][amazon asin=B002PEZH3O&template=iframe image][amazon asin=B00H4JDHRS&template=iframe image]

    HOW TO BUILD A BUGOUT BAG

    A bugout bag — or 72 hour bag — has taken on a prepper reputation  because it often refers to that bag when civilization collapses — usually a handgun is the first item in it — but it’s simply a bag that will allow you to survive for three days. 72 hours. Because if you are lost in the woods, stranded in your car, caught in a freak snowstorm, your odds of rescue increase if you can make it through those first three days.

    The bag itself.

    A bugout bag is often kept in a small day backpack. Nothing too large or  too heavy because you want it to be something you will grab for a hike and not think about — if the bag is too bulky you may not take it with you.

    Food.

    Food is the first thing that people think about when putting together a 72 hour bag but in fact it’s the last thing you’ll need.

    Remember …

    You can survive three minutes without air.

    You can survive three hours without shelter — in extreme temperatures.

    You can survive three days without water.

    But you can survive three weeks without food.

    Food is actually the last of the four survival basics that you will need if caught in a survival situation. However, you will need to keep up your strength, your morale and your health. So you will need some food.

    A few Cliff bars are a good idea, or some dried fruit, or trail mix. And you can cover your food needs is by having a few military MRE’s — Meals Ready to Eat. These are simple food kits that the military uses when in  the field. They can be purchased online, at any Military Surplus Store, or civilian versions can be found in camping or outdoor stores. These meals are high in protean — they are broken down into entree’s, snacks and even have coffee and drink mixes inside — and contain a manner to flamelessly cook that require simply a little bit of water to activate. So you can have a hot meal anywhere. One Military MRE — in a survival situation —- is enough protein to get you through a full day.

    But I think the easiest way to take care of food in your bugout bag is simply a small jar of peanut butter — high in protean and high in fat.

    After that here are some basic ideas for your bugout bag …

    Tarp — for shelter

    First aid kit

    Knife

    A few bottles of water — you’ll need a gallon of water per day but since you can’t carry three gallons in a pack you’ll need a way to purify and/or boil water when you find it.

    Cooking kit

    Matches/lighter/way to make fire

    Fire starter — I have one of those fireplace starter bricks in my pack. A small piece of this will get even the wettest wood going

    Space blanket or light blanket

    Water purification tablets

    Rope or cordage

    Whistle – a great way to signal. Screaming will hurt your throat and take up energy.

    Plastic garbage bags — bring a few, these can be used as ponchos, bags, to carry water, etc.

    Emergency literature — books on survival, first aid, distilling water, edible plants, etc.

    Some cash

    Crank radio

    Compass

    Crank flashlight

    Fishing line and hooks — when the food runs out, you’ll have a way to catch additional food

    Additional socks — things go easier if you can keep your feet dry

        There are no set rules to a bugout bag and you can make it as simple or complicated as you want. But for thirty dollars or less — I know some guys who have purchased every item in their bag from The Dollar Tree and done it for much less —  you can have a bag that will allow you to survive for three days.

  • How to build a Hobo Stove

    How to build a Hobo Stove

    hobo

    If you are under the age of eighty, then you — like most of us — have not lived through a true worldwide economic depression. Oh, we have all seen economic challenges — layoffs, rightsizing and recessions — but few of us were alive to experience the prevailing effects of The Great Depression of the 1930’s.

    During this time, jobs did not simply become scarce, they just vanished. Banks collapsed. Manufacturing stopped. Crop prices were cut in half and virtually overnight the country changed and remained changed for nearly a  decade.

    Imagine what happens when a country of men wake up and in spite of their best intensions and efforts, they can no longer take care of themselves or their families. Over time, the strain broke many of these men — because underneath subsistence is survival but underneath survival is hopelessness.

    Very few of us know what it’s like to live in a world when money was not simply hard to come by, but for many American’s it just didn’t exist any longer. Bartering became a common method of commerce and many people simply worked for food and shelter.

    Ironically, the group of people that faired the best during this time was the  American farmer — those located outside of the dustbowl Midwest. Even with low crop and meat prices, the American farmer had enough food for his family as well as had goods to trade with.

    With these farms surviving, migratory workers would travel and seek out the seasonal seeding and harvest work available. This was fueled by the fact that with homes being foreclosed on and with little cash for rent, there were more people living a transitory lifestyle then ever before — moving from town to town seeking what work could be found.

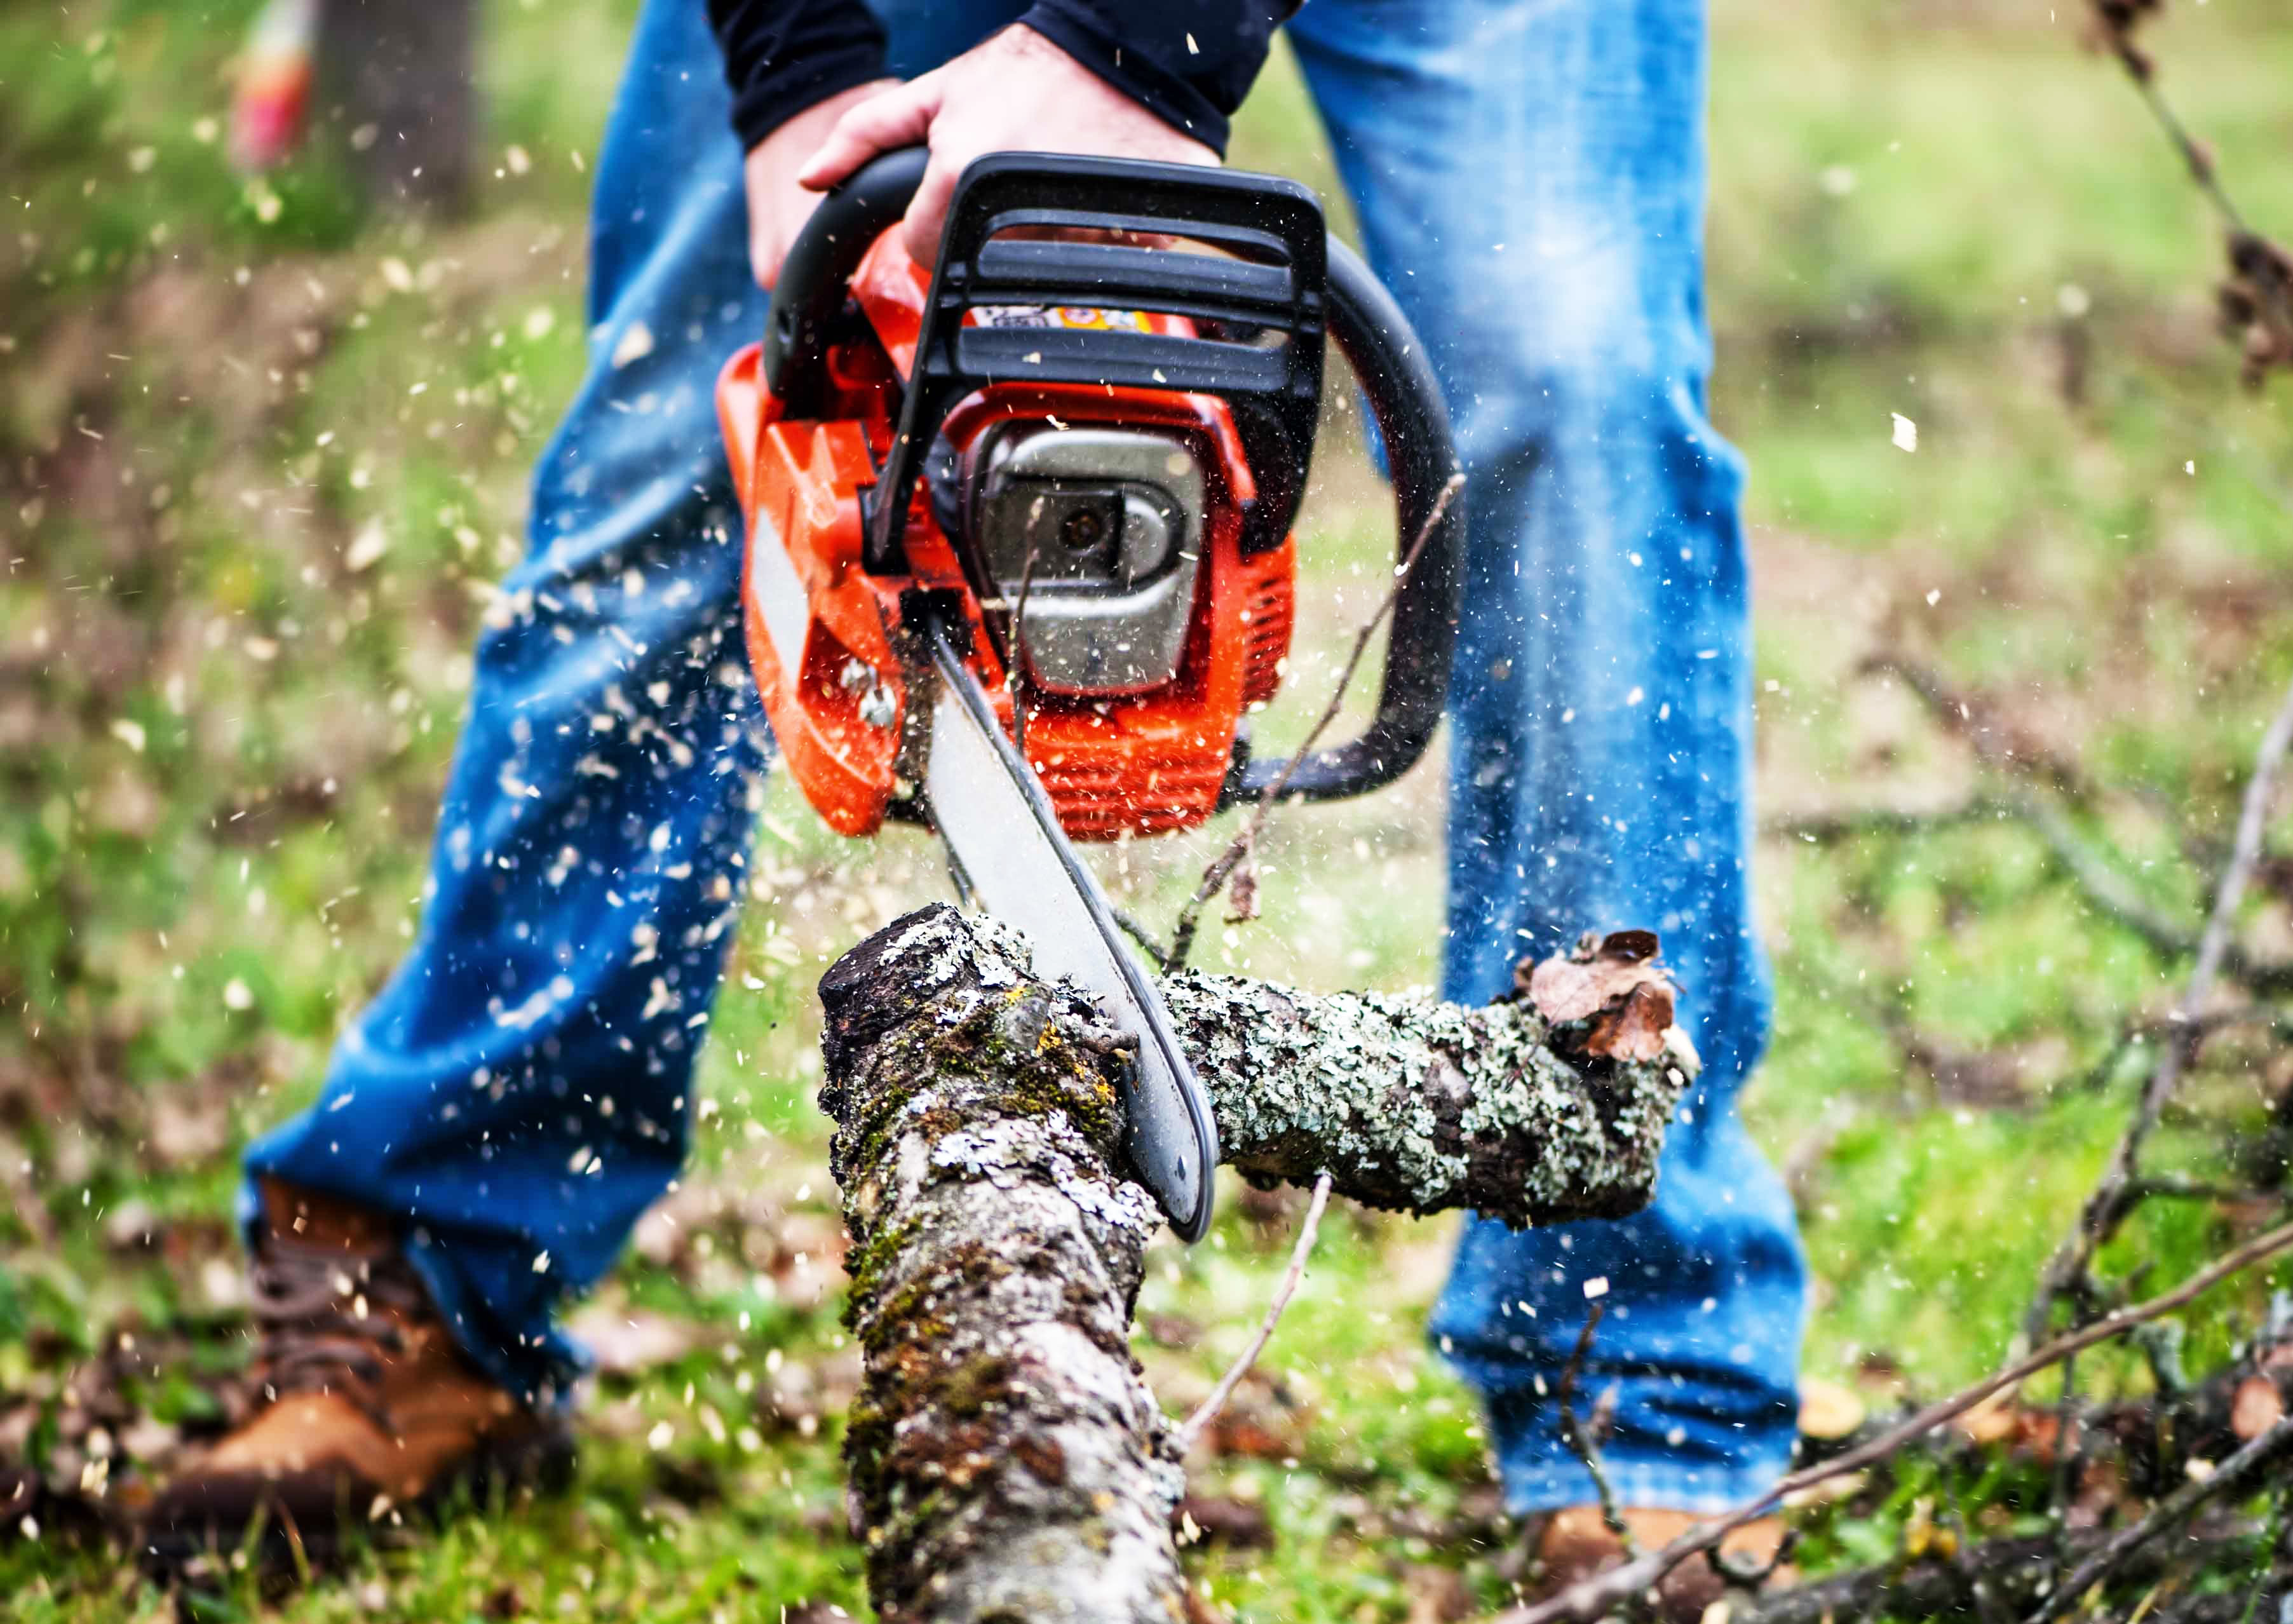
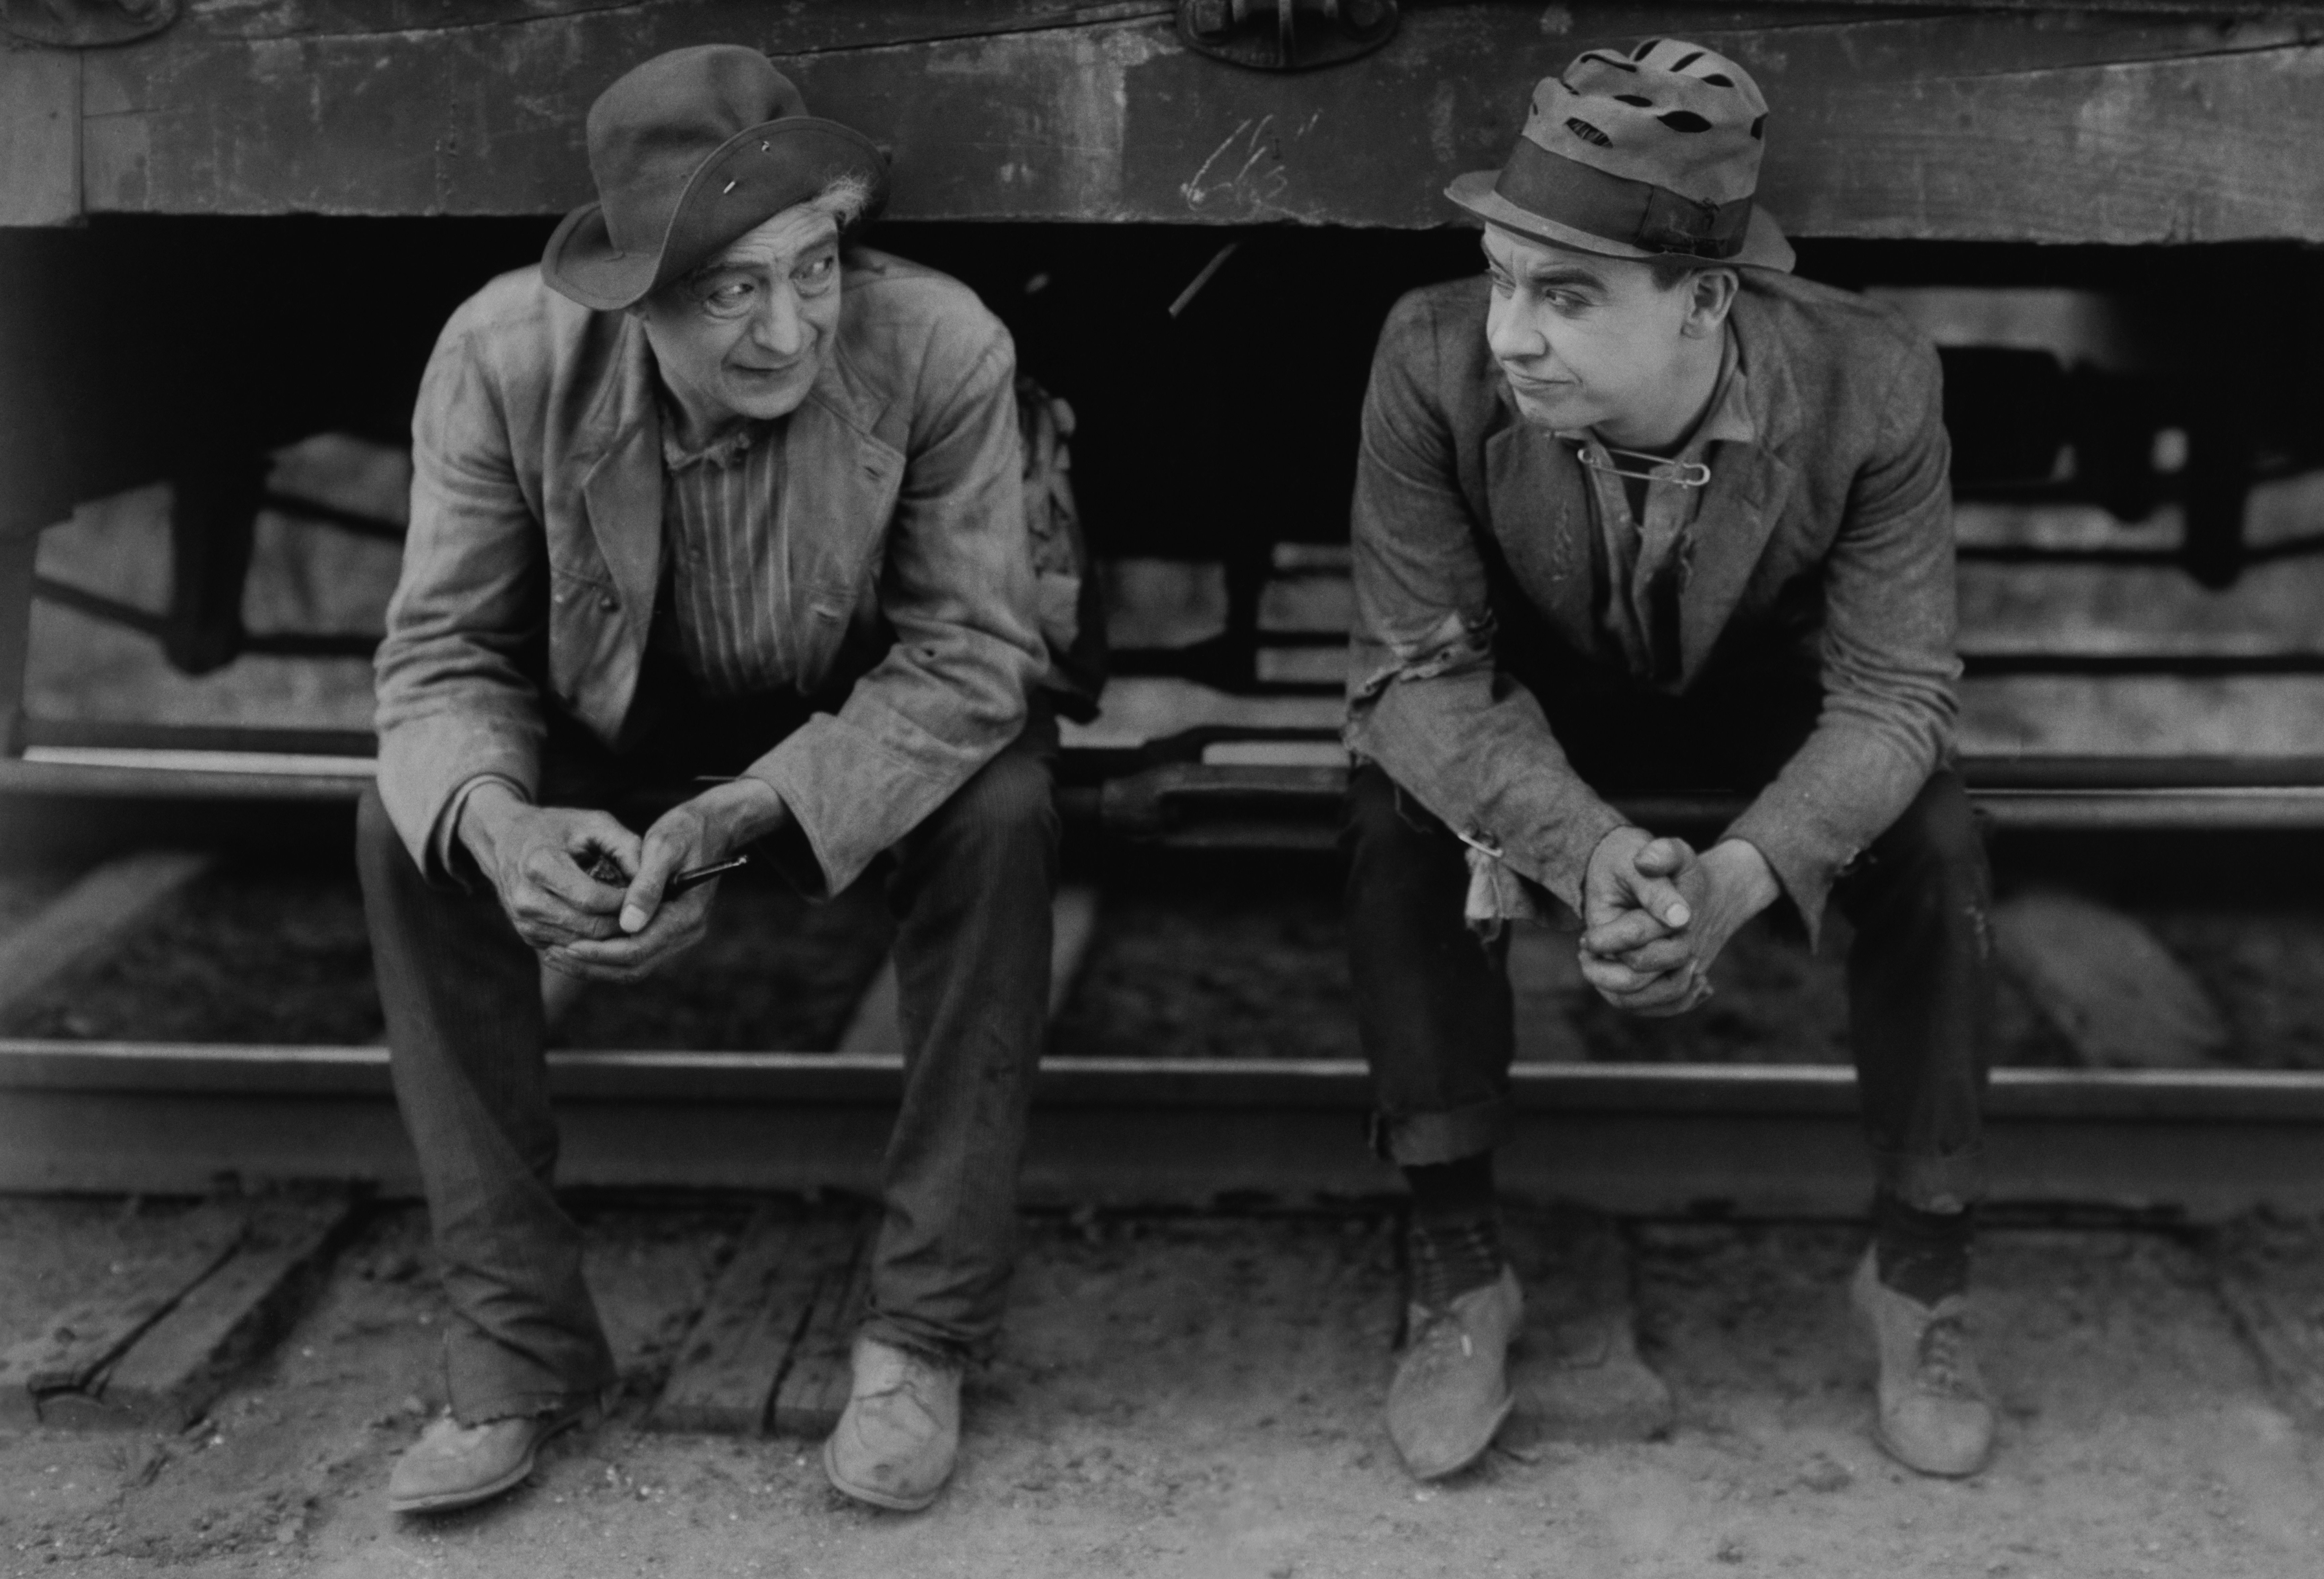
    Now, the most colorful group of travelling men during this time was the American Hobo. The term hobo is believed to come from the phrase ho-boy, referring to the great groups of farm and field workers that competed for migratory work. These men would travel light and stay on the move — often by sneaking aboard freight trains — looking for work, a meal and if possible a little adventure.

    The modern term hobo is often used when referring to anyone homeless but this is not accurate.

    Remember …

    A hobo is someone that travels looking for work.

    A tramp is someone that travels but does not work.

    And a bum neither travels nor works.

    The general philosophy of the hobo — and of many American’s during The Great Depression — was simple: waste nothing, throw little away and make do with what you can find.  And from this, the hobo stove was born.

    Now, there is no evidence that the hobo stove was actually created during the 1930’s. It’s such a simple design — made simply from old cans — and a stove similar to it was used in World War I. But it was commonly used during this period and often associated with it.

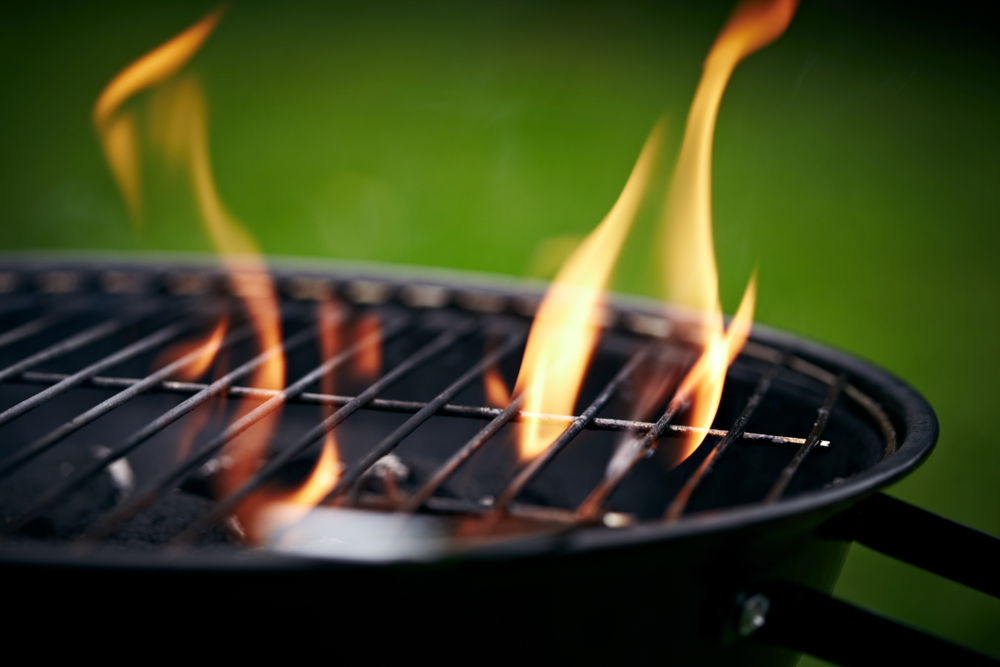
    A hobo stove is a simple stove made from discarded food cans — a coffee can is often used but you can build the stove with larger or smaller cans — that allows air to ventilate it and an area to feed fuel in. These stoves are cheap, easy to make, relatively efficient and can be burned at no cost because they burn sticks, pine cones, wood scraps, cardboard, pretty much anything you find along the way. And because they burn pretty much anything, you will never run out of fuel.

    In the modern world, Hobo Stoves are great little devices to have. They can be used during power outages, as a camping stove, while hiking or backpacking, to distill water in or as part of a survival kit.

    Now there are many designs to a hobo stove, but here is a real simple one — and remember, they don’t need to be too pretty they just need to work.

    [amazon asin=1586489011&template=iframe image][amazon asin=B00IK6HKFE&template=iframe image][amazon asin=B000HEKR98&template=iframe image][amazon asin=B007WHCFC0&template=iframe image]

    HOW TO BUILD A HOBO STOVE:

    1. Find a base can for your stove and a slightly smaller top can. You can make this stove as large or as small as you want. I wanted to build a light backpacking stove here, so I used a spaghetti sauce can for the base and a dog food can for the top, but I’ve seen these stoves made out of large #10 food cans for those wanting full sized camp stove.

    2. With a ‘church key’ style can opener, place some holes along the bottom base can. These are to draw air in and up through the stove — it’s important to have some space between holes though so you have stability at the base of the can.

    3.  With a nail, punch some holes in the side of the can, center, for ventilation, as well as four additional holes  — an inch from the top — for the support pins. The small holes in the center will add some additional ventilation and the four peg holes need to be directly across from each other as the pegs that will support the top half will rest on it. Make sure the holes are equal distance across, as you want this stove to be as stable as possible so the pot on top of it is centered.

    4. Place two pins across the can for support of the top can. Metal tent poles work great for this and you can even use coat hangers but you’ll need to find the thicker, heavy coat hangers to use. A standard coat hanger will be too thin and not work here. Remember, this is where the top can, the pot and a few cups of water will be supported. The ones I used metal from a metal bathroom shelf that I rescued from the trash. I cut off a few tent pole sized pieces, straightened them and bent the edges down.

    5. Cut the bottom out of the top-can so it becomes a metal tube. You can try to use a can opener on some cans but this one had a rounded edge so I just poked a hole in it and then used tin snips. Bend the sharp edges in with pliers.

    6. Cut a “V” shaped section out of the top can. This will be used to feed the fuel down into the stove as well as allow the opposite side of the can to become a wind screen. Bend any sharp edges back with pliers.

    7. Set the top-can down into the bottom-can until it rests on the pins. You want your pins to be across parallel with each other not making an X. Although by crossing them might be more stable, you will be placing fuel down past the pins and don’t want anything to get hung up.

    8. Find the pot you will be using. This should really be done earlier in the process, then you can identify the size stove you want based on the pot you will be using — as well as the place it will be stored. But I got lucky here and found this great little coffee pot in my basement — it had a small pinhole in the side that I patched with some J-B Weld and it worked great. The size of the pot was small enough but the right size so the entire stove fit perfectly inside of it — even allowing room for my silverware, fire starters, and other items to be stores. It’s difficult to tell in these photos, but this pot is very compact and is only 6” high. The perfect size for a small backpacking stove.

    9. Cover stove and pot with high temperature spray-paint. You don’t have to take this step, but by covering both the stove and the pot you are not only protecting it but making it more difficult for the tars and oils from the fire to build up on the surfaces. High temperature spray paint can be found in any hardware store.

    Test your gear. If you need to make modifications it’s easier to do this at home. Try the stove at least once before using it in the field and anything you don’t like, just change and tweak until you have it exactly the way you want it.

    I tried this stove and I had water boiling in about four minutes — using just a handful of twigs and leaves from my backyard as fuel. Total cost ended up being zero because I recycled the cans and pegs and found the coffee pot in my basement.

    Remember: keep the design of the stove simple as you don’t need a device to simmer a five hour brisket in. These stoves were designed to quickly cook a few  stolen eggs before breaking down camp and catching the next freight out of town.


    BIG ROCK CANDY MOUNTAIN

    First recorded by Harry McClintock.

    1928

    The Hobo Theme song.

    One evening as the sun went down
    And the jungle fires were burning,
    Down the track came a hobo hiking,
    And he said, “Boys, I’m not turning
    I’m headed for a land that’s far away
    Besides the crystal fountains
    So come with me, we’ll go and see
    The Big Rock Candy Mountains

    In the Big Rock Candy Mountains,
    There’s a land that’s fair and bright,
    Where the handouts grow on bushes
    And you sleep out every night.
    Where the boxcars all are empty
    And the sun shines every day
    And the birds and the bees
    And the cigarette trees
    The lemonade springs
    Where the bluebird sings
    In the Big Rock Candy Mountains.

    In the Big Rock Candy Mountains
    All the cops have wooden legs
    And the bulldogs all have rubber teeth
    And the hens lay soft-boiled eggs
    The farmers’ trees are full of fruit
    And the barns are full of hay
    Oh I’m bound to go
    Where there ain’t no snow
    Where the rain don’t fall
    The winds don’t blow
    In the Big Rock Candy Mountains.

    In the Big Rock Candy Mountains
    You never change your socks
    And the little streams of alcohol
    Come trickling down the rocks
    The brakemen have to tip their hats
    And the railway bulls are blind
    There’s a lake of stew
    And of whiskey too
    You can paddle all around it
    In a big canoe
    In the Big Rock Candy Mountains

    In the Big Rock Candy Mountains,
    The jails are made of tin.
    And you can walk right out again,
    As soon as you are in.
    There ain’t no short-handled shovels,
    No axes, saws nor picks,
    I’m bound to stay
    Where you sleep all day,
    Where they hung the jerk
    That invented work
    In the Big Rock Candy Mountains.